Pre-Season Prep: How to Get Your Snowboard Ready for Winter
A s summer in the mountains winds down, it's time to shift gears and get stoked for winter! Preparing your snowboard for the upcoming season isn’t just about making sure it looks good on the slopes—proper maintenance ensures your board performs at its best, keeps you safe, and extends the life of your gear.
Whether you’re planning to carve down groomers, slash powder through the trees, or send it in the park, following a solid pre-season routine is key. Here's how to get your board ready to shred all winter long!
Why is Snowboard Prep Important?
Prepping your snowboard is crucial for both performance and safety. When your board is in top condition, you’ll experience better control and a smoother ride. But when it’s neglected—think dull edges, dry base, or loose bindings—it can lead to poor handling, slower speeds, and potentially dangerous situations.
Ignoring maintenance can cause long-term damage to your snowboard, too. Regular care keeps your gear in top shape, helping you avoid costly repairs or even replacing your board sooner than you’d like.

Snowboard Tuning Tools and Materials
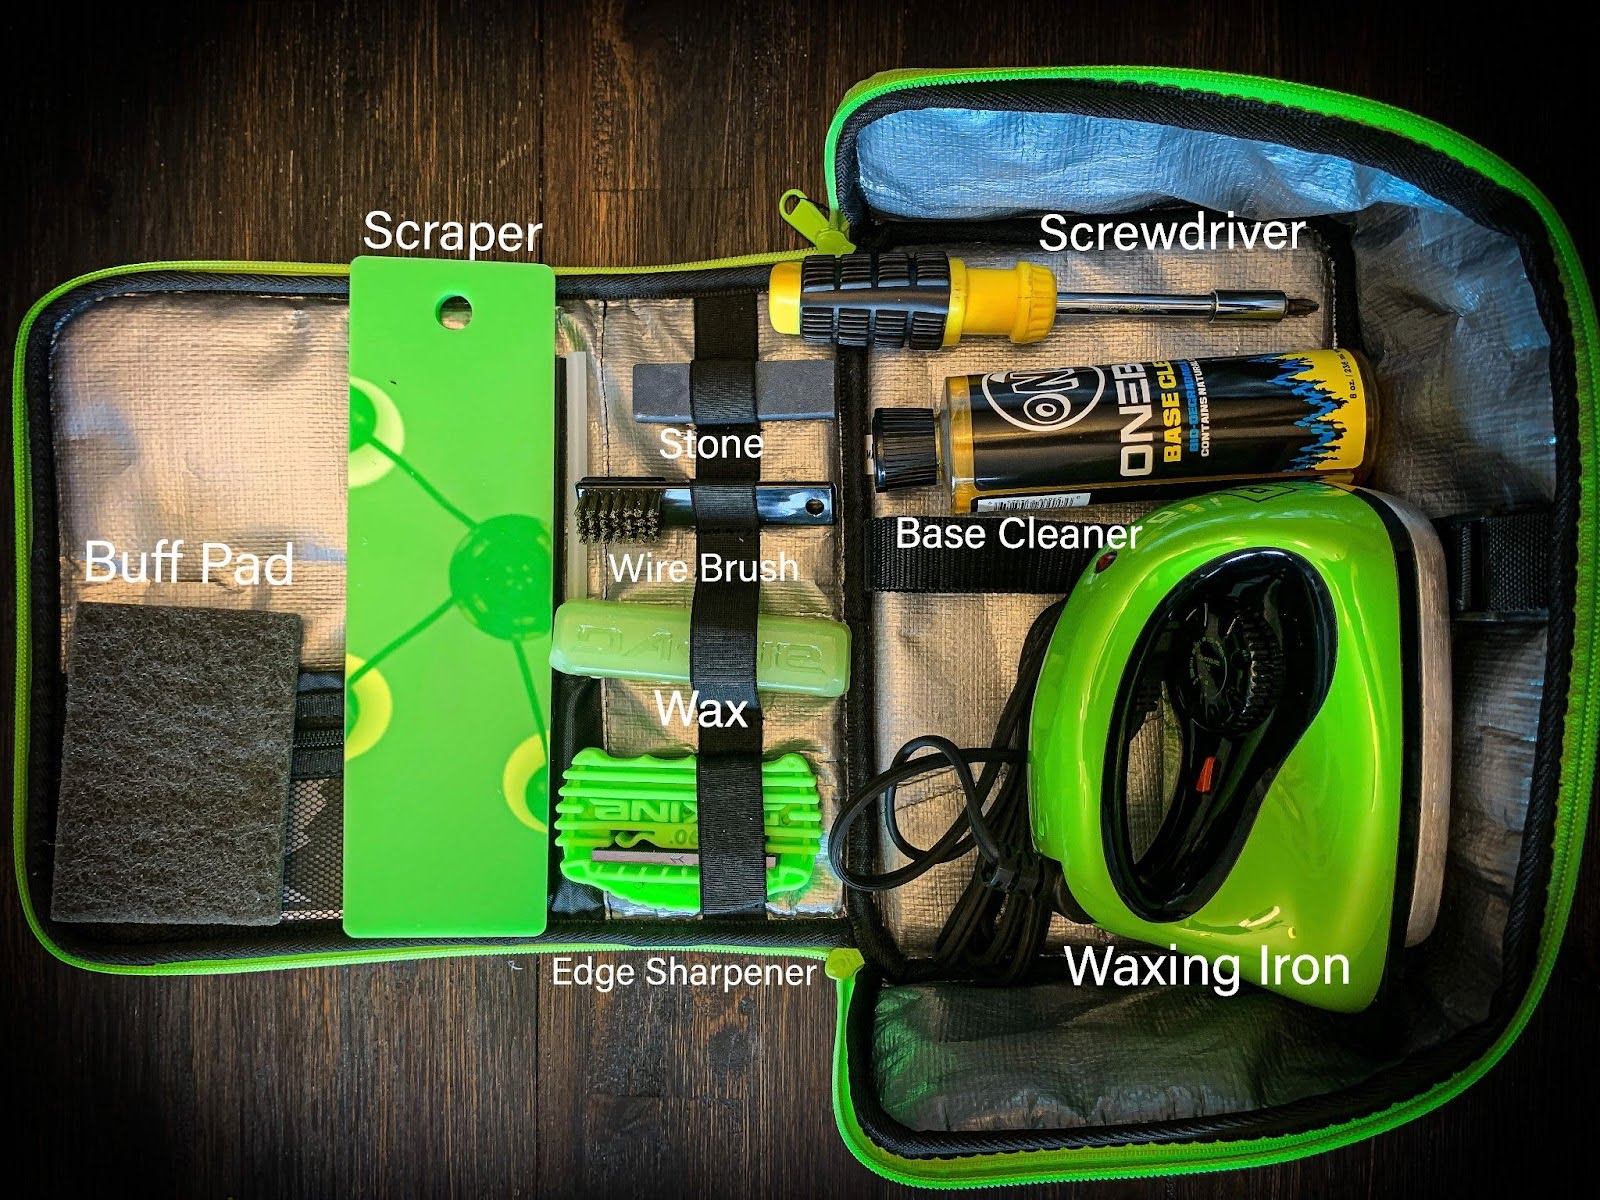
Before you dive into tuning your snowboard, it’s important to gather the right tools. Having the proper gear not only makes the process smoother but also ensures your snowboard is properly maintained. From keeping your edges sharp to making sure your base is waxed, each tool plays a key role in the process. Here’s a breakdown of what you’ll need:
- Edge sharpener - Essential for maintaining sharp, precise edges for better control.
- Waxing iron - Used to evenly melt and apply wax to your snowboard’s base.
- Wax brushes/Buff pad - Help smooth and polish the wax, improving your board's glide.
- Screwdrivers - For tightening and adjusting your bindings.
- Snowboard wax - Protects your base and enhances speed on the snow.
- Plastic scraper - To remove excess wax from your snowboard, ensuring a smooth and even surface.
- P-Tex - Handy for filling in and repairing any gouges or scratches on the base.
- Clean cloths or paper towels - Needed to wipe down your board and apply cleaners.
- Base cleaner - Removes dirt, old wax, and grime to prep your board for new wax.
Having these items ready will make your snowboard tuning experience efficient, so you can spend less time prepping and more time shredding.
Steps for Tuning Your Snowboard
Tuning your snowboard is all about setting yourself up for success on the slopes. Whether you're riding in deep powder or tackling icy trails, a well-maintained board makes a huge difference in how it performs. By following a few simple steps—cleaning, repairing, sharpening, and waxing—you'll not only protect your gear but also improve control, speed, and longevity. Let’s break down the process so you can easily tune your snowboard and get the most out of your winter.
Pre-Scrape Your Base
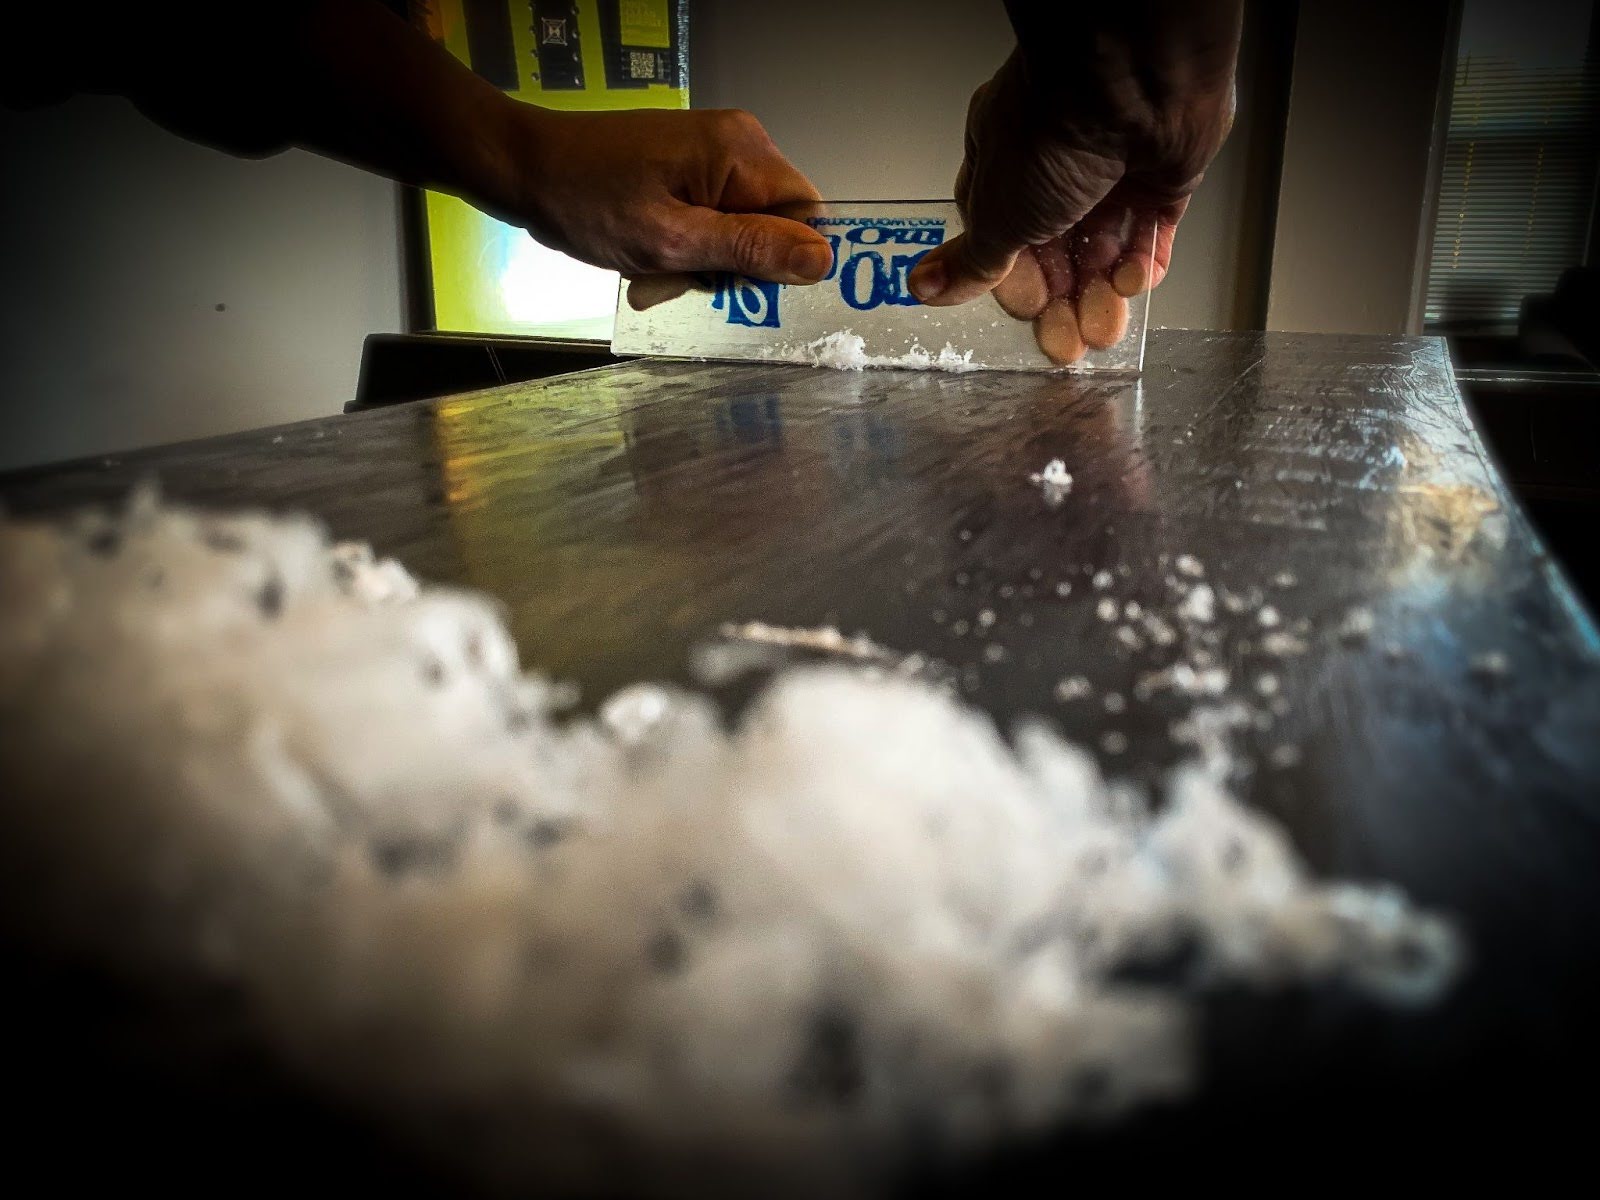
Before using a base cleaner, it's important to pre-scrape the base to remove any old wax. Using a plastic scraper, gently scrape the surface of the board to lift off as much old wax build-up as possible. This step helps ensure the cleaning process is more effective. Pre-scraping also reduces the amount of base cleaner you need to use, making it a more efficient process.
Clean Your Snowboard
After pre-scraping your board, use a base cleaner and a clean cloth or paper towels to remove any dirt, old wax, or grime from the base and edges. This step is essential because it sets you up for proper repairs and waxing. A clean surface ensures everything adheres properly and that your board performs like new.
Repair Any Damage
Next, inspect your snowboard for any signs of damage, especially along the base. It’s common for boards to pick up scratches or gouges over time, especially if you’ve been riding over rocks, ice, or other debris. These minor damages might seem harmless, but if left unchecked, they can slow you down and lead to bigger issues later on.
For small to medium scratches or gouges, P-Tex is your go-to fix. This fills in the damaged areas of your base. To use it, light the P-Tex stick, and as it melts, drip it into the scratch or gouge. Once the P-Tex has cooled and hardened, scrape off the excess with a metal scraper until the base is smooth. This process helps restore the integrity of your snowboard’s base and ensures it’s ready for fresh wax, improving both performance and durability on the mountain.
Sharpen the Edges
Sharp edges are essential for grip and maneuverability, especially on icy terrain like that on the “Ice Coast”. Using an edge sharpener, carefully run the tool along the edges of your board. Not sure if the edges are sharp enough? Try the fingernail test—lightly run your nail along the edge, and if it catches, you’re good to go. Different riding styles, like park and freeride, might require different bevels, so sharpen according to your preferred terrain.

Waxing Your Snowboard
Waxing your snowboard is a crucial step for maintaining speed, protecting the base, and improving your overall ride. Regular waxing keeps your board gliding smoothly across the snow and protects it from the wear and tear that comes with the elements. Whether you're riding in fresh powder or on hard-packed trails, waxing is essential for keeping your snowboard in top shape. There are two popular techniques for applying wax: the drip method and the crayon method. Here’s how each one works:
- Drip Method:
-
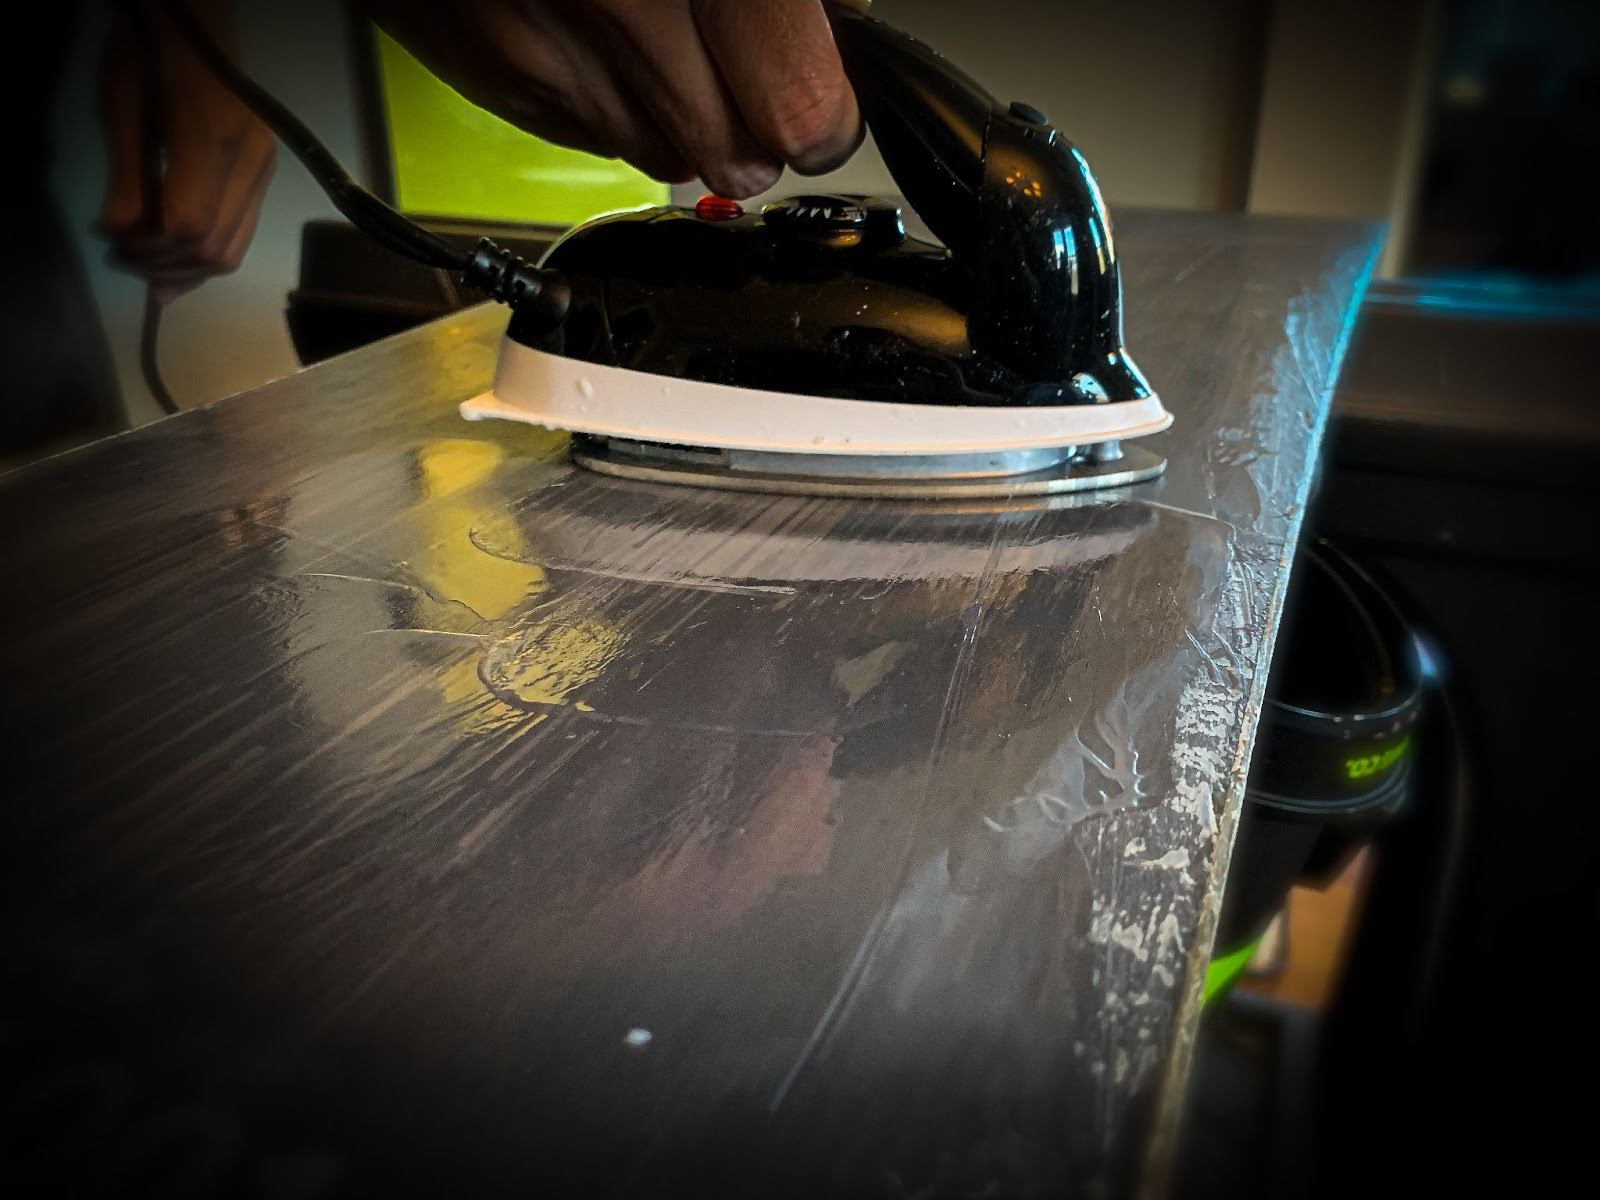
The drip method is the most common way to wax your board. This technique involves melting the wax and letting it drip off the iron onto the base.
- Use a waxing iron to melt the wax, holding it over the snowboard so the wax drips evenly across the surface.
- Once the wax is applied, use the iron to spread it out in a thin, even layer over the entire base.
- Allow the wax to cool and harden, then scrape off the excess with a plastic scraper, making sure to leave a smooth layer.
- Finally, buff the base using a wax brush or buffing pads to give your board a polished finish and improve glide.
- Crayon Method:
-
The crayon technique is a faster, easier method for quick touch-ups or when you don’t have a waxing iron handy. While it’s less intensive than the drip method, it still offers a solid layer of protection.
- Rub the wax directly onto the base of your snowboard as if you were coloring it in. Focus on covering the areas where you’ll make the most contact with the snow, this is typically along the edges.
- Once the wax is applied, use a waxing iron to heat the wax and help it adhere to the base.
- After it cools, scrape off any excess wax and buff the base to smooth it out.
Pro Tip: For the best coverage, try combining both methods. Before applying the crayon method, briefly touch the wax to the iron. This helps spread the wax more evenly across the entire board while using less wax. This technique also makes the scraping process much easier.
Final Touches
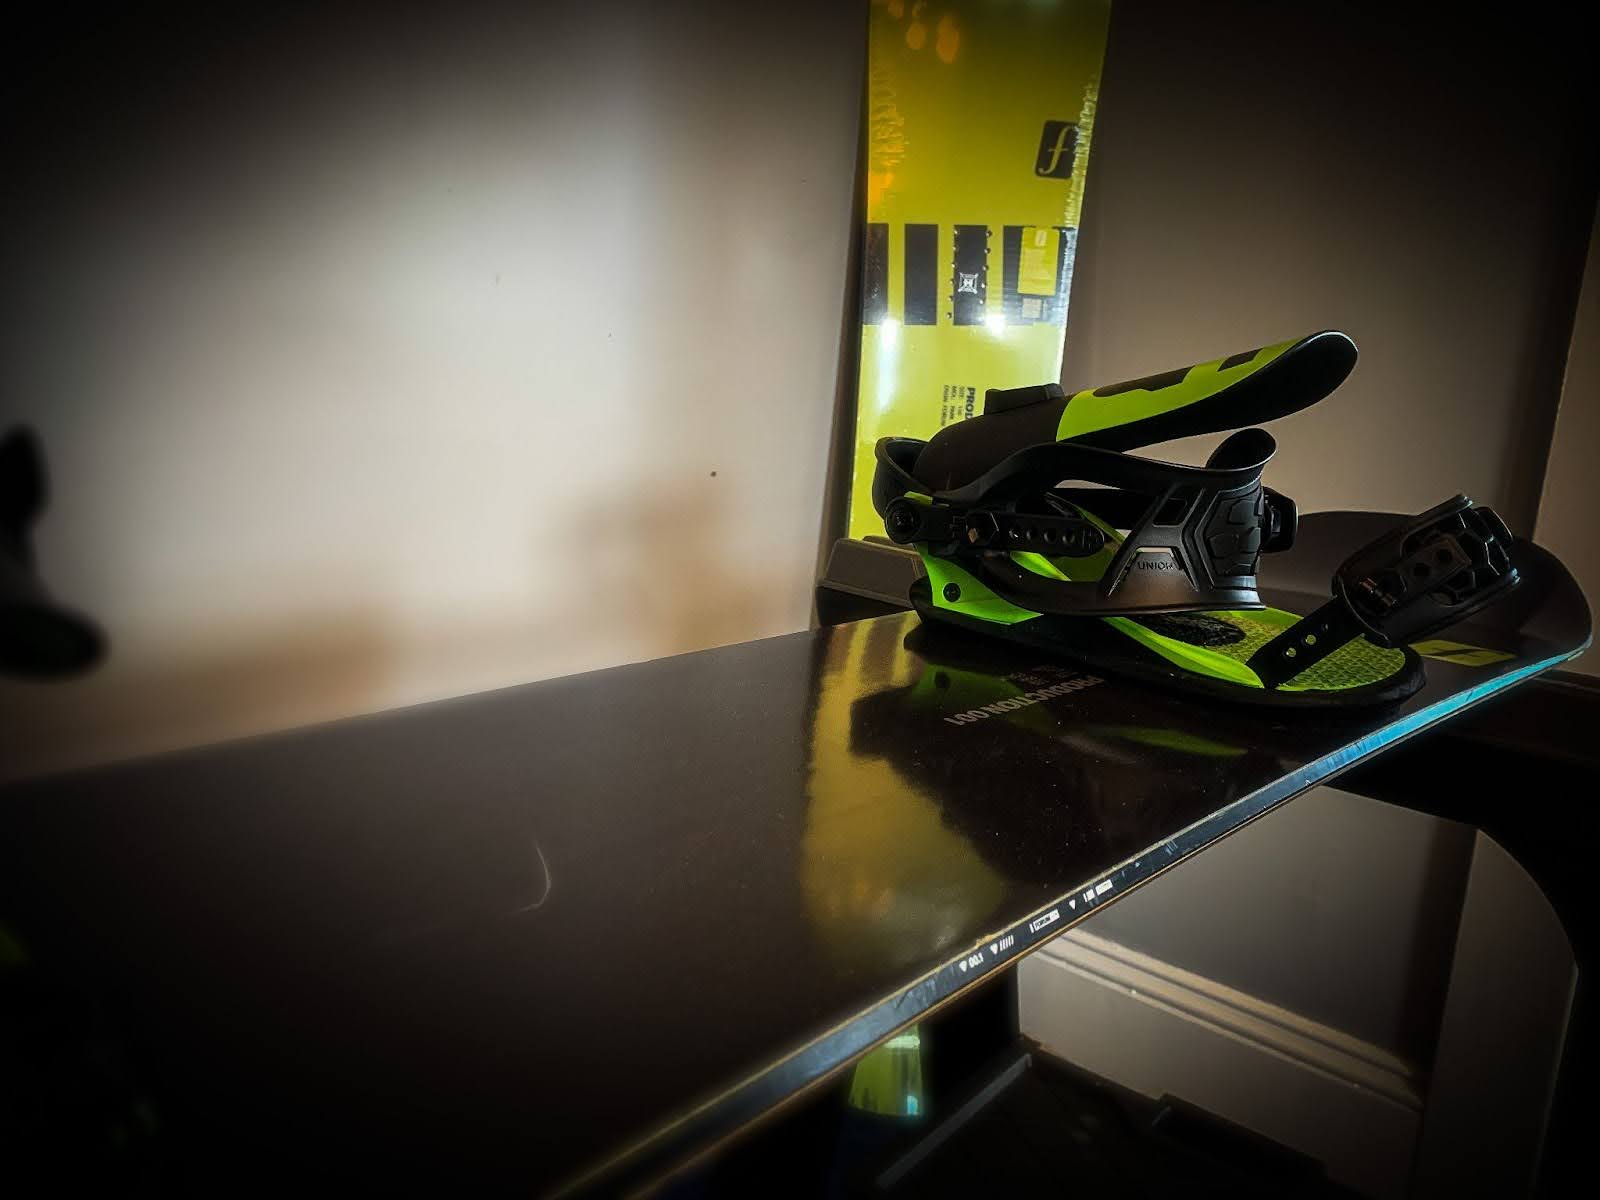
Before you’re done, give your snowboard a final check. Inspect your bindings—tighten the screws, check the straps, and make sure everything is in working order. Ensure your boots fit properly into the bindings, as a secure fit is important for control and board performance.

Snowboard Tuning Mistakes to Avoid
Even the most experienced riders can make a few missteps when tuning their boards, and those mistakes can impact both performance and safety on the mountain. Whether it’s rushing through the process, skipping steps, or using the wrong tools, improper tuning can leave you with a board that doesn’t ride as smoothly or efficiently as it should. To help you avoid common pitfalls and keep your snowboard in top shape, let’s go over the most frequent tuning mistakes.
- Skipping cleaning: Always clean your board before making repairs or waxing, or you’ll trap dirt under the wax.
- Over-sharpening edges: Sharpening too much can make your board overly aggressive, especially if you prefer park riding.
- Overheating the base: This can damage your board causing bubbles and even base separation. Make sure to keep the waxing iron moving to help avoid overheating.
- Not scraping off old wax: Always scrape off the old wax before applying a new layer. Fresh wax adheres better to a clean base.
- Neglecting bindings: Make sure your bindings are in top condition. Loose or broken bindings can cause accidents. There’s nothing worse than a broken ankle strap at the top of your favorite run.
Regular Snowboard Maintenance
Getting your snowboard ready for winter is just the start. Regular maintenance throughout the season will keep your board in peak condition. Make tuning a habit—it’ll improve your performance and keep you safe on the slopes. Wax regularly, check your edges, and inspect your bindings after each day on snow to keep your board dialed in.
Now that your board is prepped and ready, have an epic season! Happy shredding!
